How to Verify Your Facebook Account for a Blue Tick
In today’s digital landscape, social media presence is crucial for personal brands and businesses alike. A verified Facebook account, marked by a blue tick, not only enhances credibility but also allows users to reach a wider audience. This article will guide you through the steps necessary to verify your Facebook account effectively.
What is Facebook Verification?
Facebook verification is a process that confirms the authenticity of a page or profile. For public figures, brands, and businesses, having a blue verification badge on your Facebook account signifies that the profile is genuine and trustworthy. It helps users easily find the authentic account among various impersonators or fake profiles.
Why Verify Your Account?
There are several benefits to verifying your Facebook account:
- Enhanced Credibility: A verified badge increases your trustworthiness in the eyes of your audience.
- Improved Visibility: Verified accounts are more likely to appear in search results, making it easier for potential followers to find you.
- Access to Additional Features: Verification grants access to advanced features and insights that can help you manage your account more effectively.
- Protection Against Impersonation: A blue tick helps protect your brand from impersonators and fake accounts.
Eligibility Criteria for Verification
Before starting the verification process, ensure that your account meets the following criteria:

- Your account must comply with Facebook’s terms and community standards.
- You should have a profile picture and cover photo.
- You must provide a bio and other essential information to fill out your profile.
- Your account should represent a real person, brand, or entity.
- You should have a substantial following with a notable presence online.
Step-by-Step Process to Verify Your Facebook Account
Once you confirm that your account meets the eligibility criteria, follow these steps to seek verification:
Step 1: Prepare Your Account
Before applying for verification, update your account information. This includes:
- Profile Picture: Use a clear and professional image.
- Cover Photo: Choose a cover image that reflects your brand or personality.
- Bio: Write a concise biography that explains who you are or what your brand represents.
- Contact Information: Ensure your phone number and email are publicly accessible on your profile.
Step 2: Navigate to the Verification Request
To access the verification request, go to your settings:
- Click on the arrow in the top right corner of Facebook.
- Go to “Settings & Privacy” and select “Settings.”
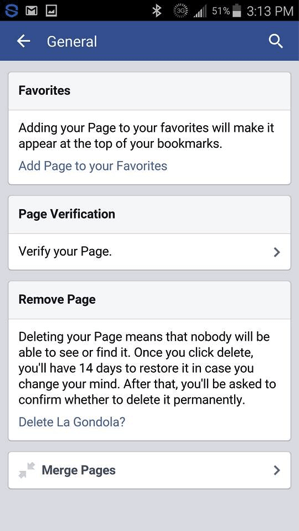
- In the left sidebar, click on “General.”
- Look for “Page Verification” (this will be different for personal profiles).
Step 3: Submit Your Verification Request
After you’ve found the verification section, you’ll need to:
- Provide your account name (for pages, it should match your Page name).
- Enter your account category.
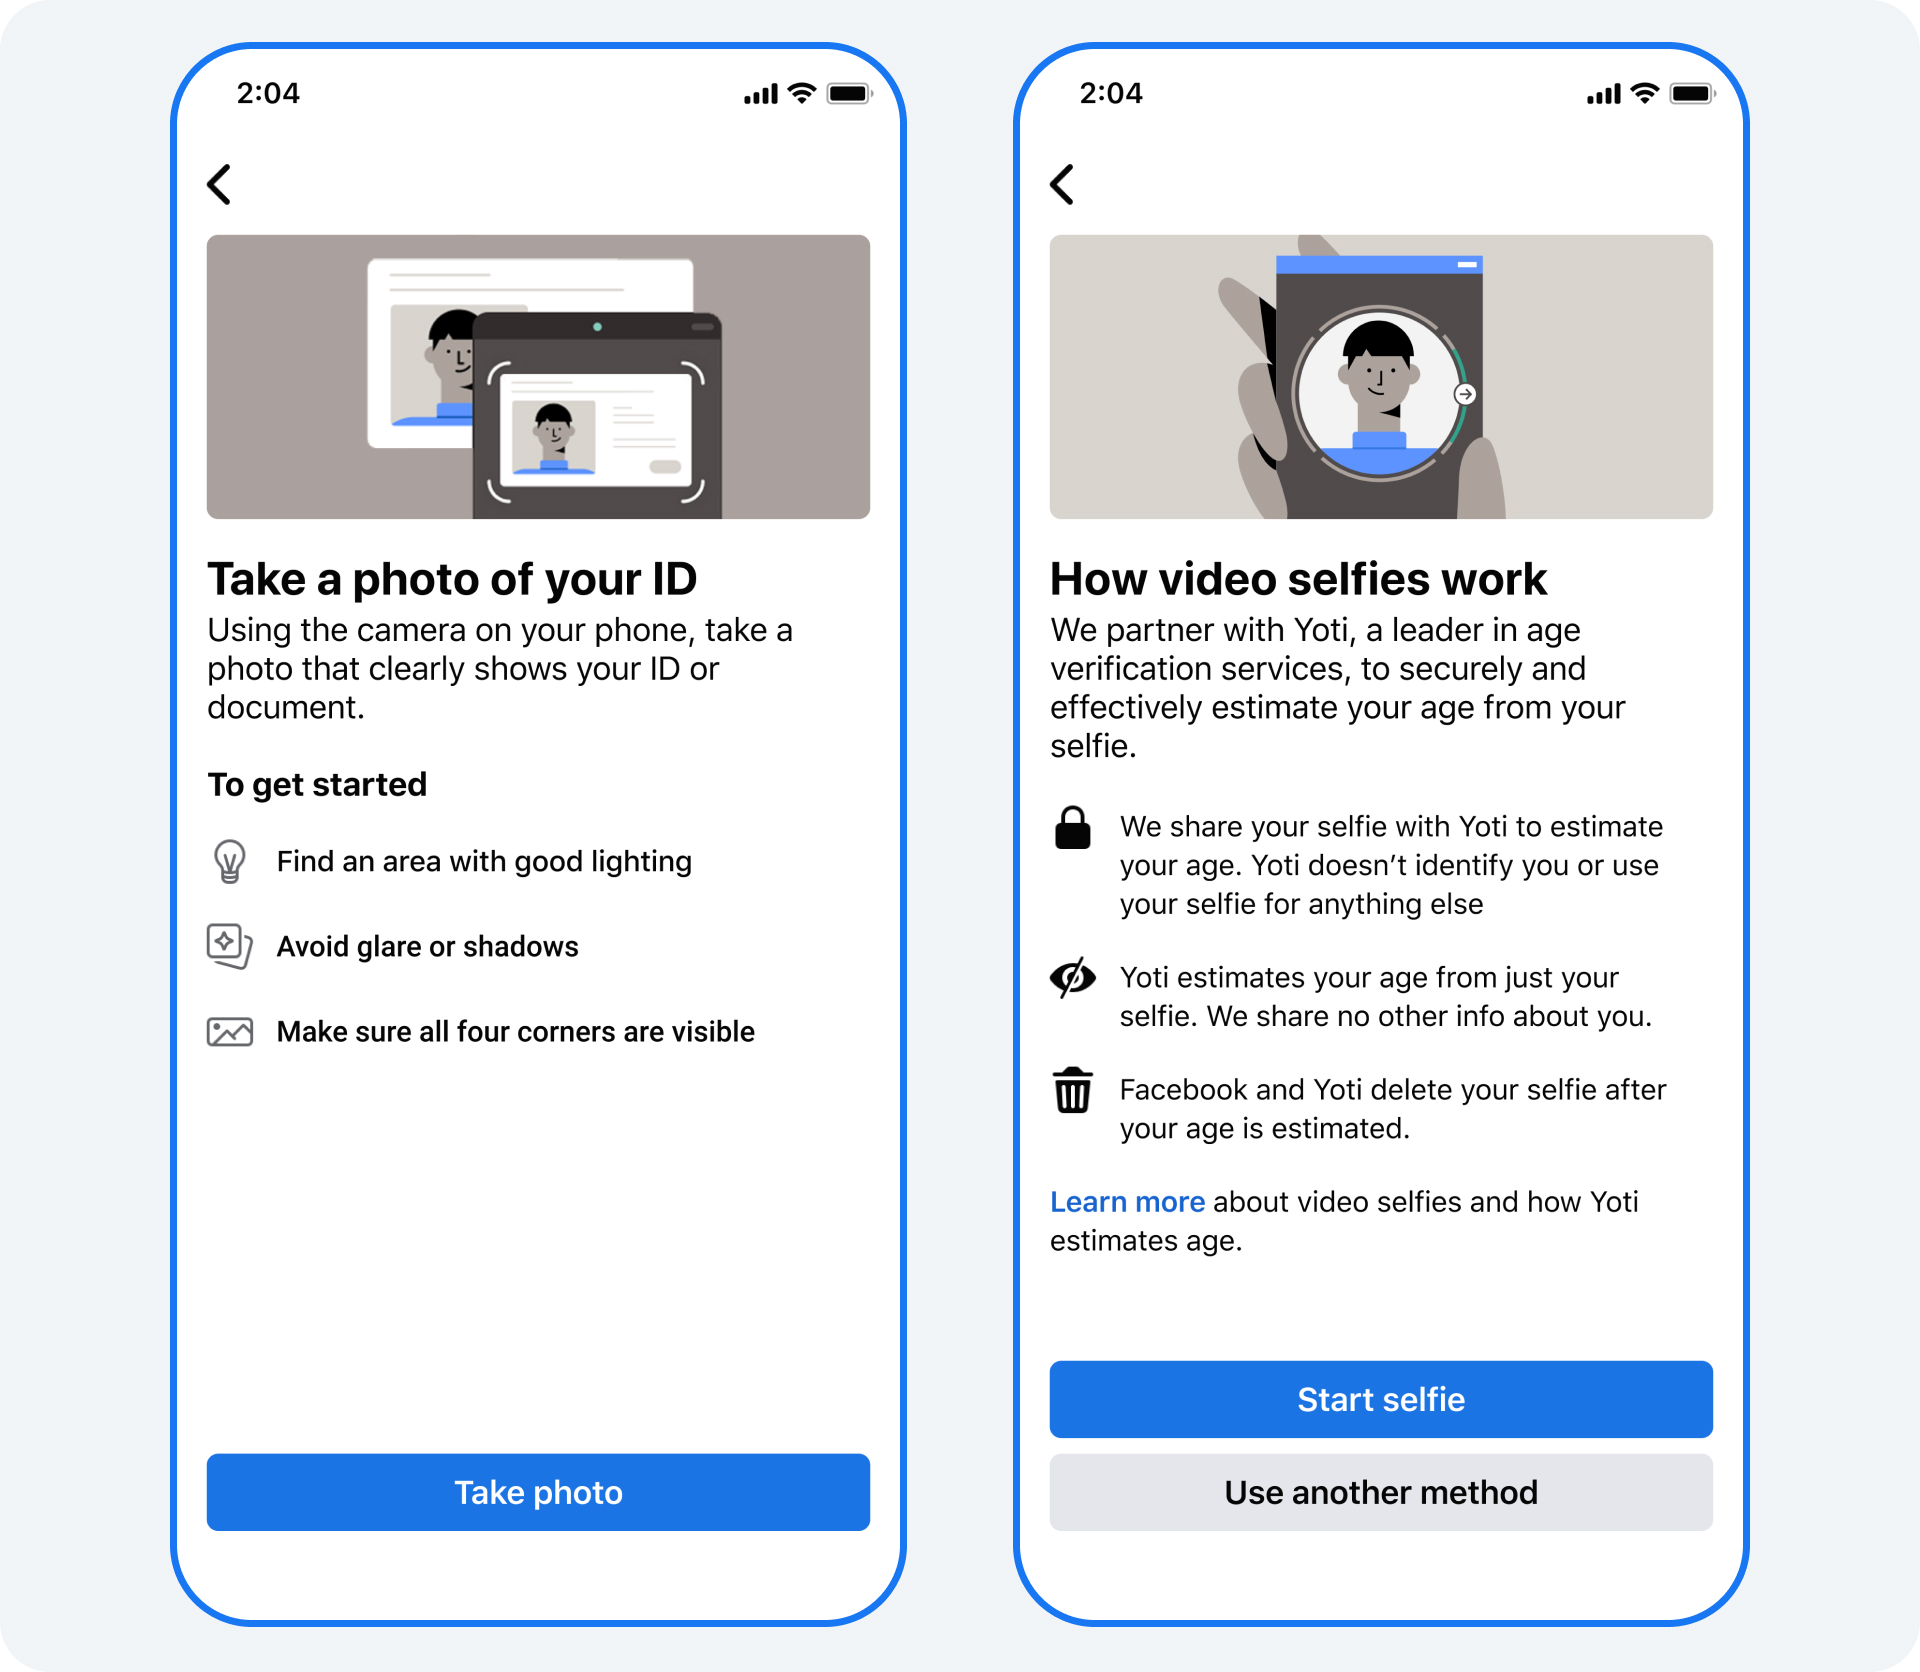
- Upload a form of identification (such as a government-issued ID for individuals or a utility bill for businesses).
Step 4: Wait for Facebook’s Review
After submitting your request, you will need to wait for Facebook to review your application. This can take anywhere from a few days to a few weeks. Facebook will notify you of their decision via a notification. If your request is denied, you can reapply after 30 days.
Common Mistakes to Avoid
When applying for verification, there are several common pitfalls to avoid:
- Incomplete Information: Ensure all required fields are filled accurately before submitting your request.
- Using a Fake Profile: Facebook checks if your account is authentic. Avoid using fake information.
- Neglecting Your Profile: A poorly maintained profile can limit your chances. Be proactive in creating engaging content
.
What to Do If Your Request Is Denied
If your verification request is denied, don’t be discouraged. Here’s what you can do:
- Review your profile for any improvements or missing information.
- Build your following further and increase engagement.
- Reapply after 30 days, ensuring you have addressed issues that may have led to the denial.
Conclusion
Verifying your Facebook account can significantly impact your personal or business identity on social media. While it requires effort and patience, the end result–a blue verification badge–can open doors to new opportunities and enhance your presence within the Facebook community. Follow the steps outlined above to maximize your chances of success in achieving verification.
For more information, visit the following link: How to Verify Your Facebook Account (Blue Tick) https://crazyfb.shop/en/page/kak-podtverdit-akkaunt-facebook-blue-tick